The picture is a little older. I actually pulled out this layout and started working on it thinking I was going to use a picture of my mom. But I found a picture of my niece to use instead.
My Dad

I was going through pictures of the befores on my house and came across this picture. I couldn't pass it up. My dad had his heart attack about 6 months before this picture but it only slowed him down for maybe 2 months. (The goggles are my son's.)
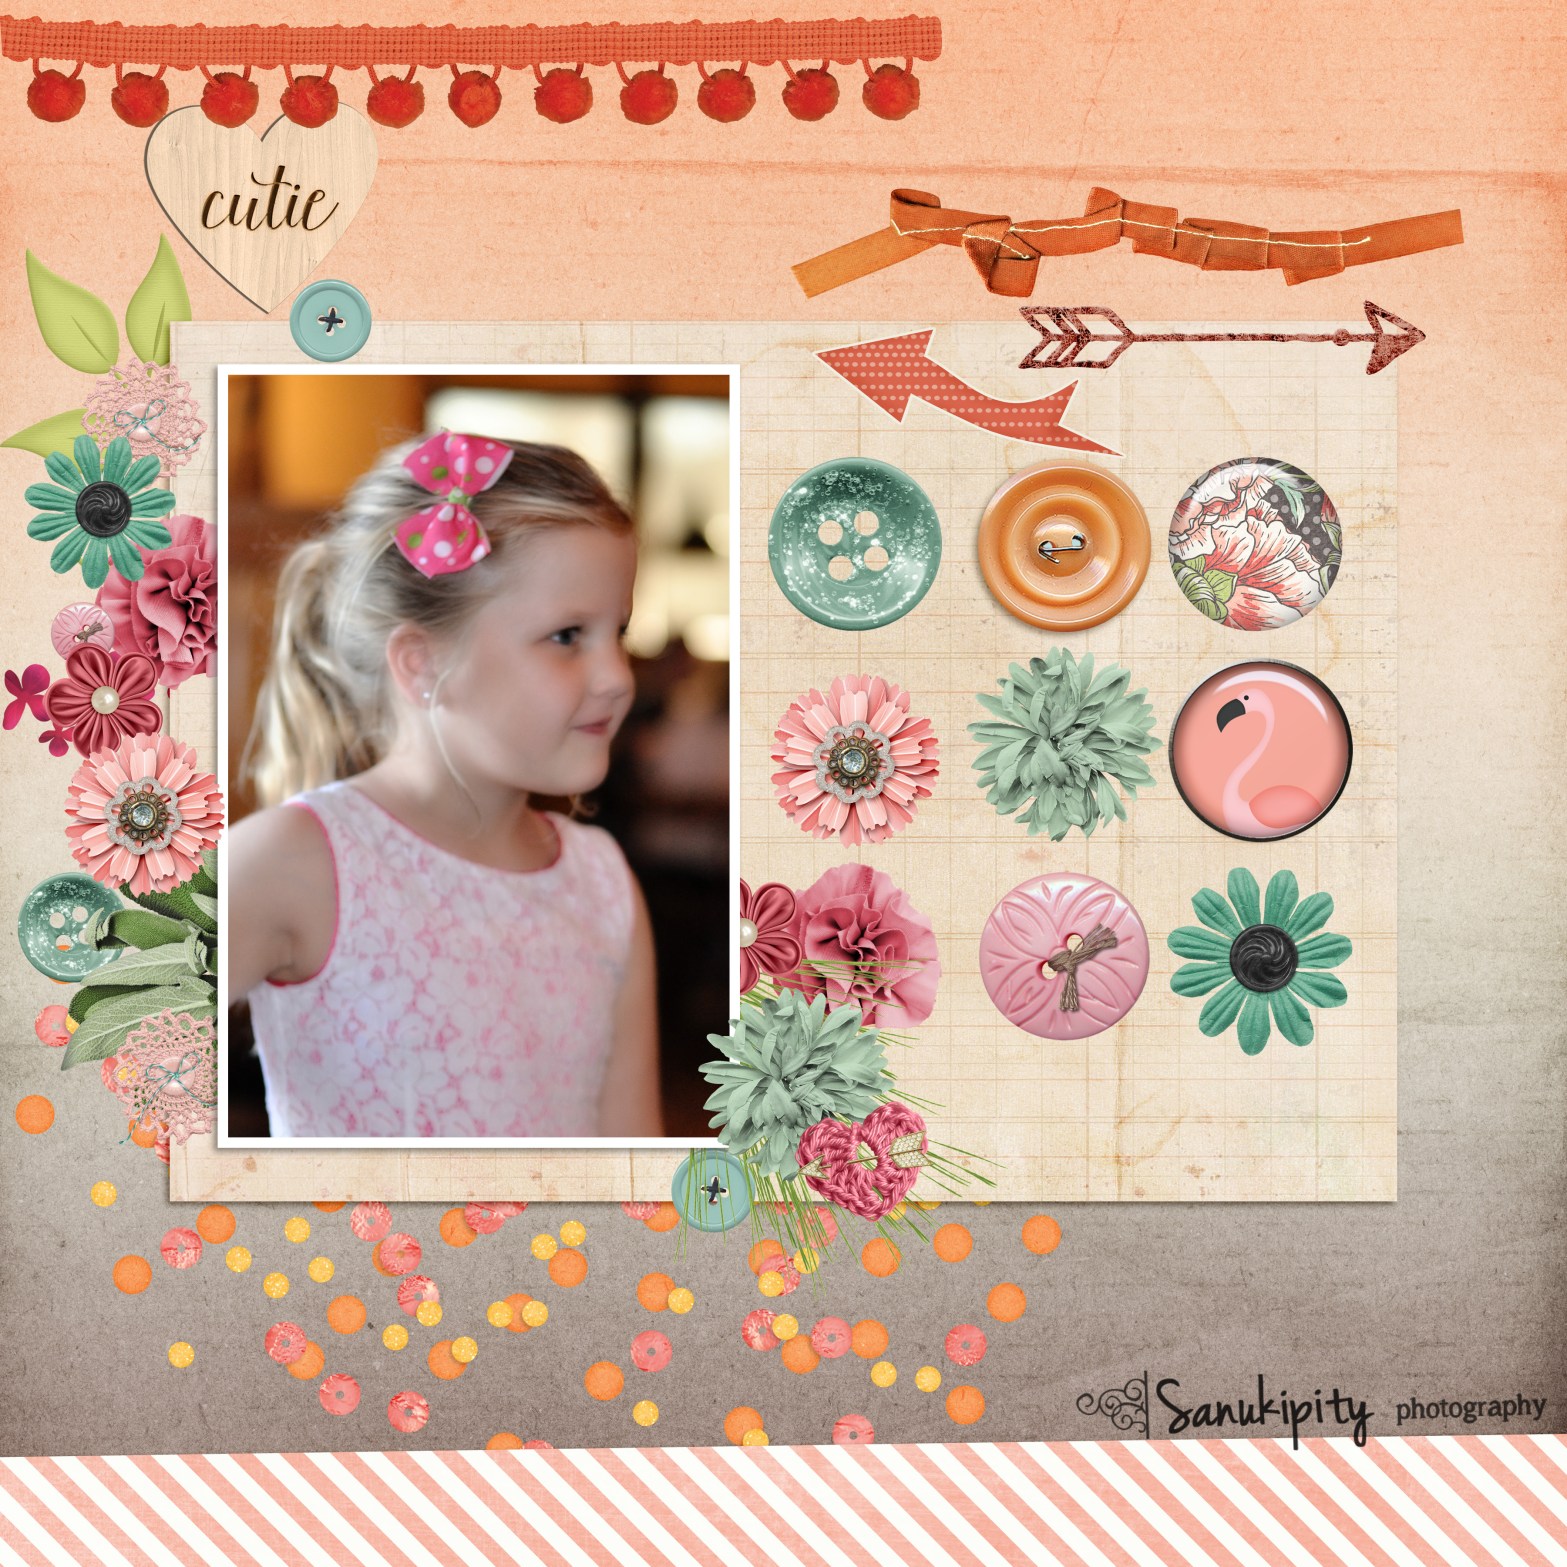
My Sweetie Pie

I just downloaded this layout from Amber LaBau Designs and knew right away I wanted to use Geni in it. I had an awesome picture of her that just wouldn't fit in the screen though. I think this worked out just as well. She sure wanted the ice cream cone.
Galloping Grace Pumpkin Patch

It's been so long since I have actually gone out and taken pictures that I had to share a few of what I took today. I took my niece and nephew to the local pumpkin patch and it grew. But we missed the llama not being there. My nephew is like an animal whisperer. IContinue reading "Galloping Grace Pumpkin Patch"
Renovating 407: The Laundry Closet

The washer and dryer fit in a nook in the hallway. The other side of the nook is the master bathroom. This closet even had plastic accordion doors (and came with the washer and dryer). The washer and dryer came out (and sold). Leaky water line everywhere. Which included a fun story about having toContinue reading "Renovating 407: The Laundry Closet"
Re-imagining a Piece of Fence into a Spooky Gate

A mostly DIY Halloween exterior. When my parents built a fence to have a garden area where the dogs couldn't get in, my mom left a section aside to hide the fireplace vent on the outside of the house. She then let my 2-year-old son paint the fencing. One day they were out of town.Continue reading "Re-imagining a Piece of Fence into a Spooky Gate"
Renovating 407: The Creative
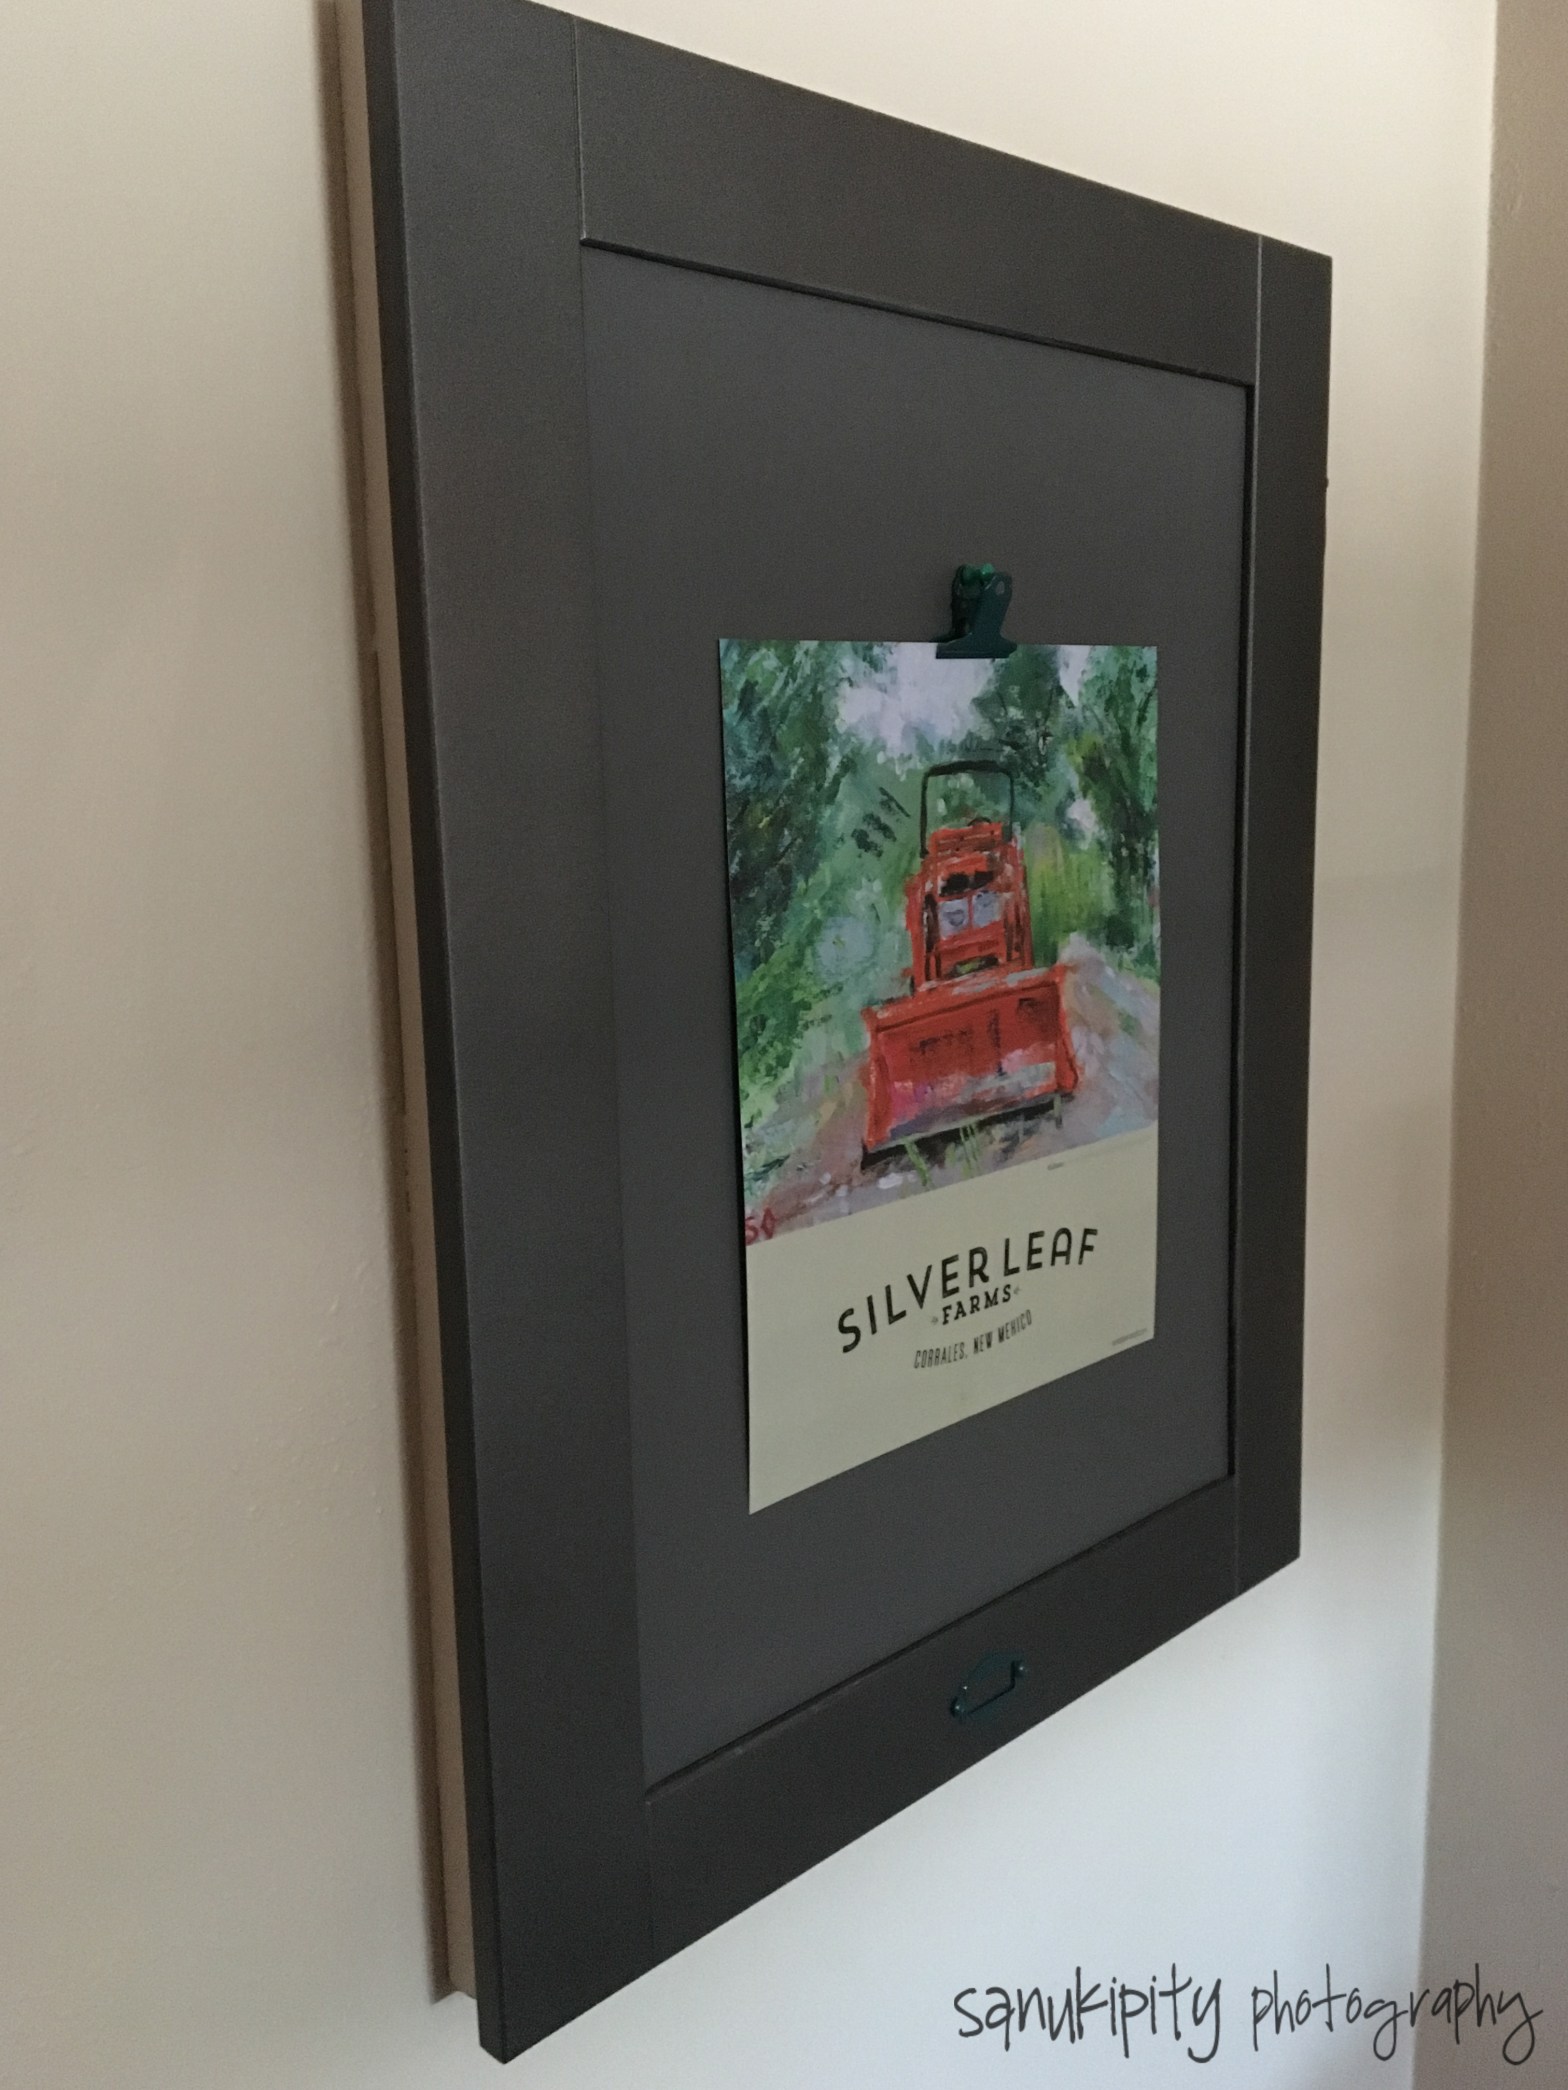
I was thinking yesterday I should have called it The Updating of 407. Because that is what most of it has been. My dad had to put tar on the dryer vent on the roof the other day, it was raining into my torn up shower. When they put up the new roof, right beforeContinue reading "Renovating 407: The Creative"
Renovating 407: A Pantry was Born

You may wonder what building a pantry has to do with redoing, recycling, upcycling. And really it doesn't other than it has to do with the renovating of the house. My mom had the bright idea that I needed a pantry (I really did) in the corner where the previous owners used to have aContinue reading "Renovating 407: A Pantry was Born"
Renovating 407: The Kitchen Island
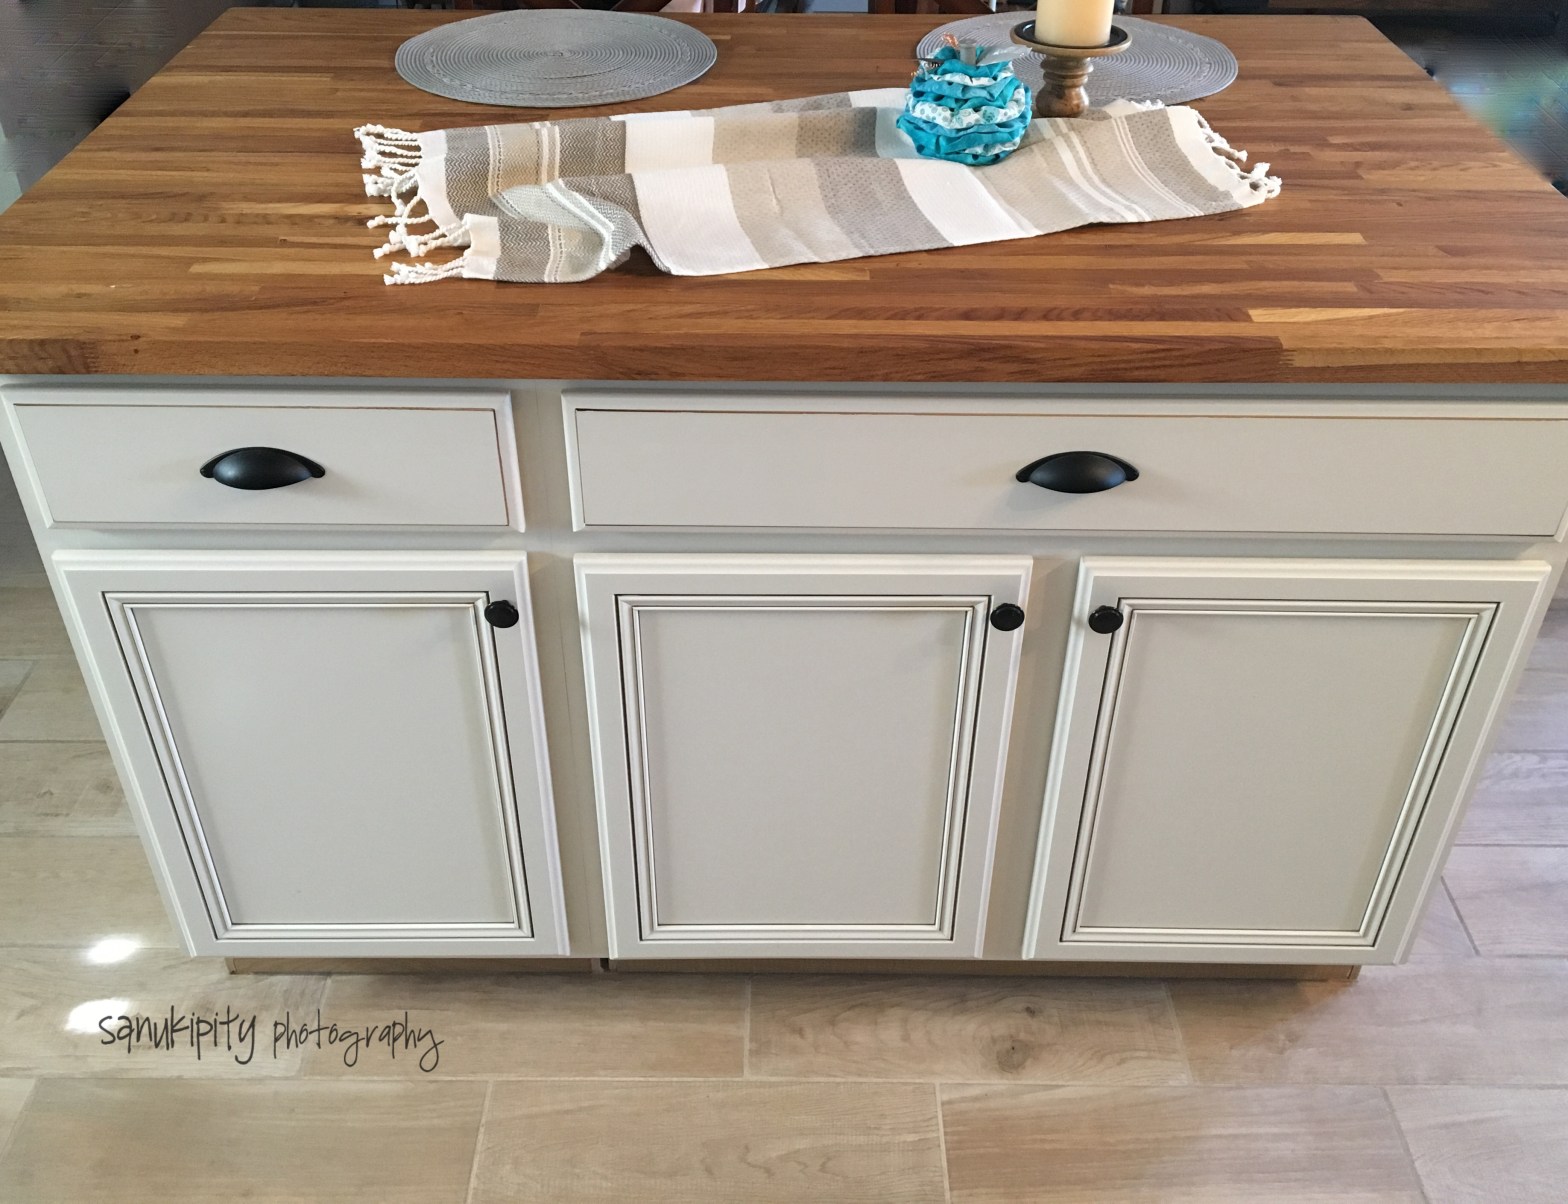
I opened up the kitchen by taking out that wall as you may recall. I really didn't want such a closed in kitchen and I though a sit at island would look awesome. I wasn't entirely sure I was going to take that wall down and how I was going to create the islandContinue reading "Renovating 407: The Kitchen Island"
Refreshing a Little Wood Stool
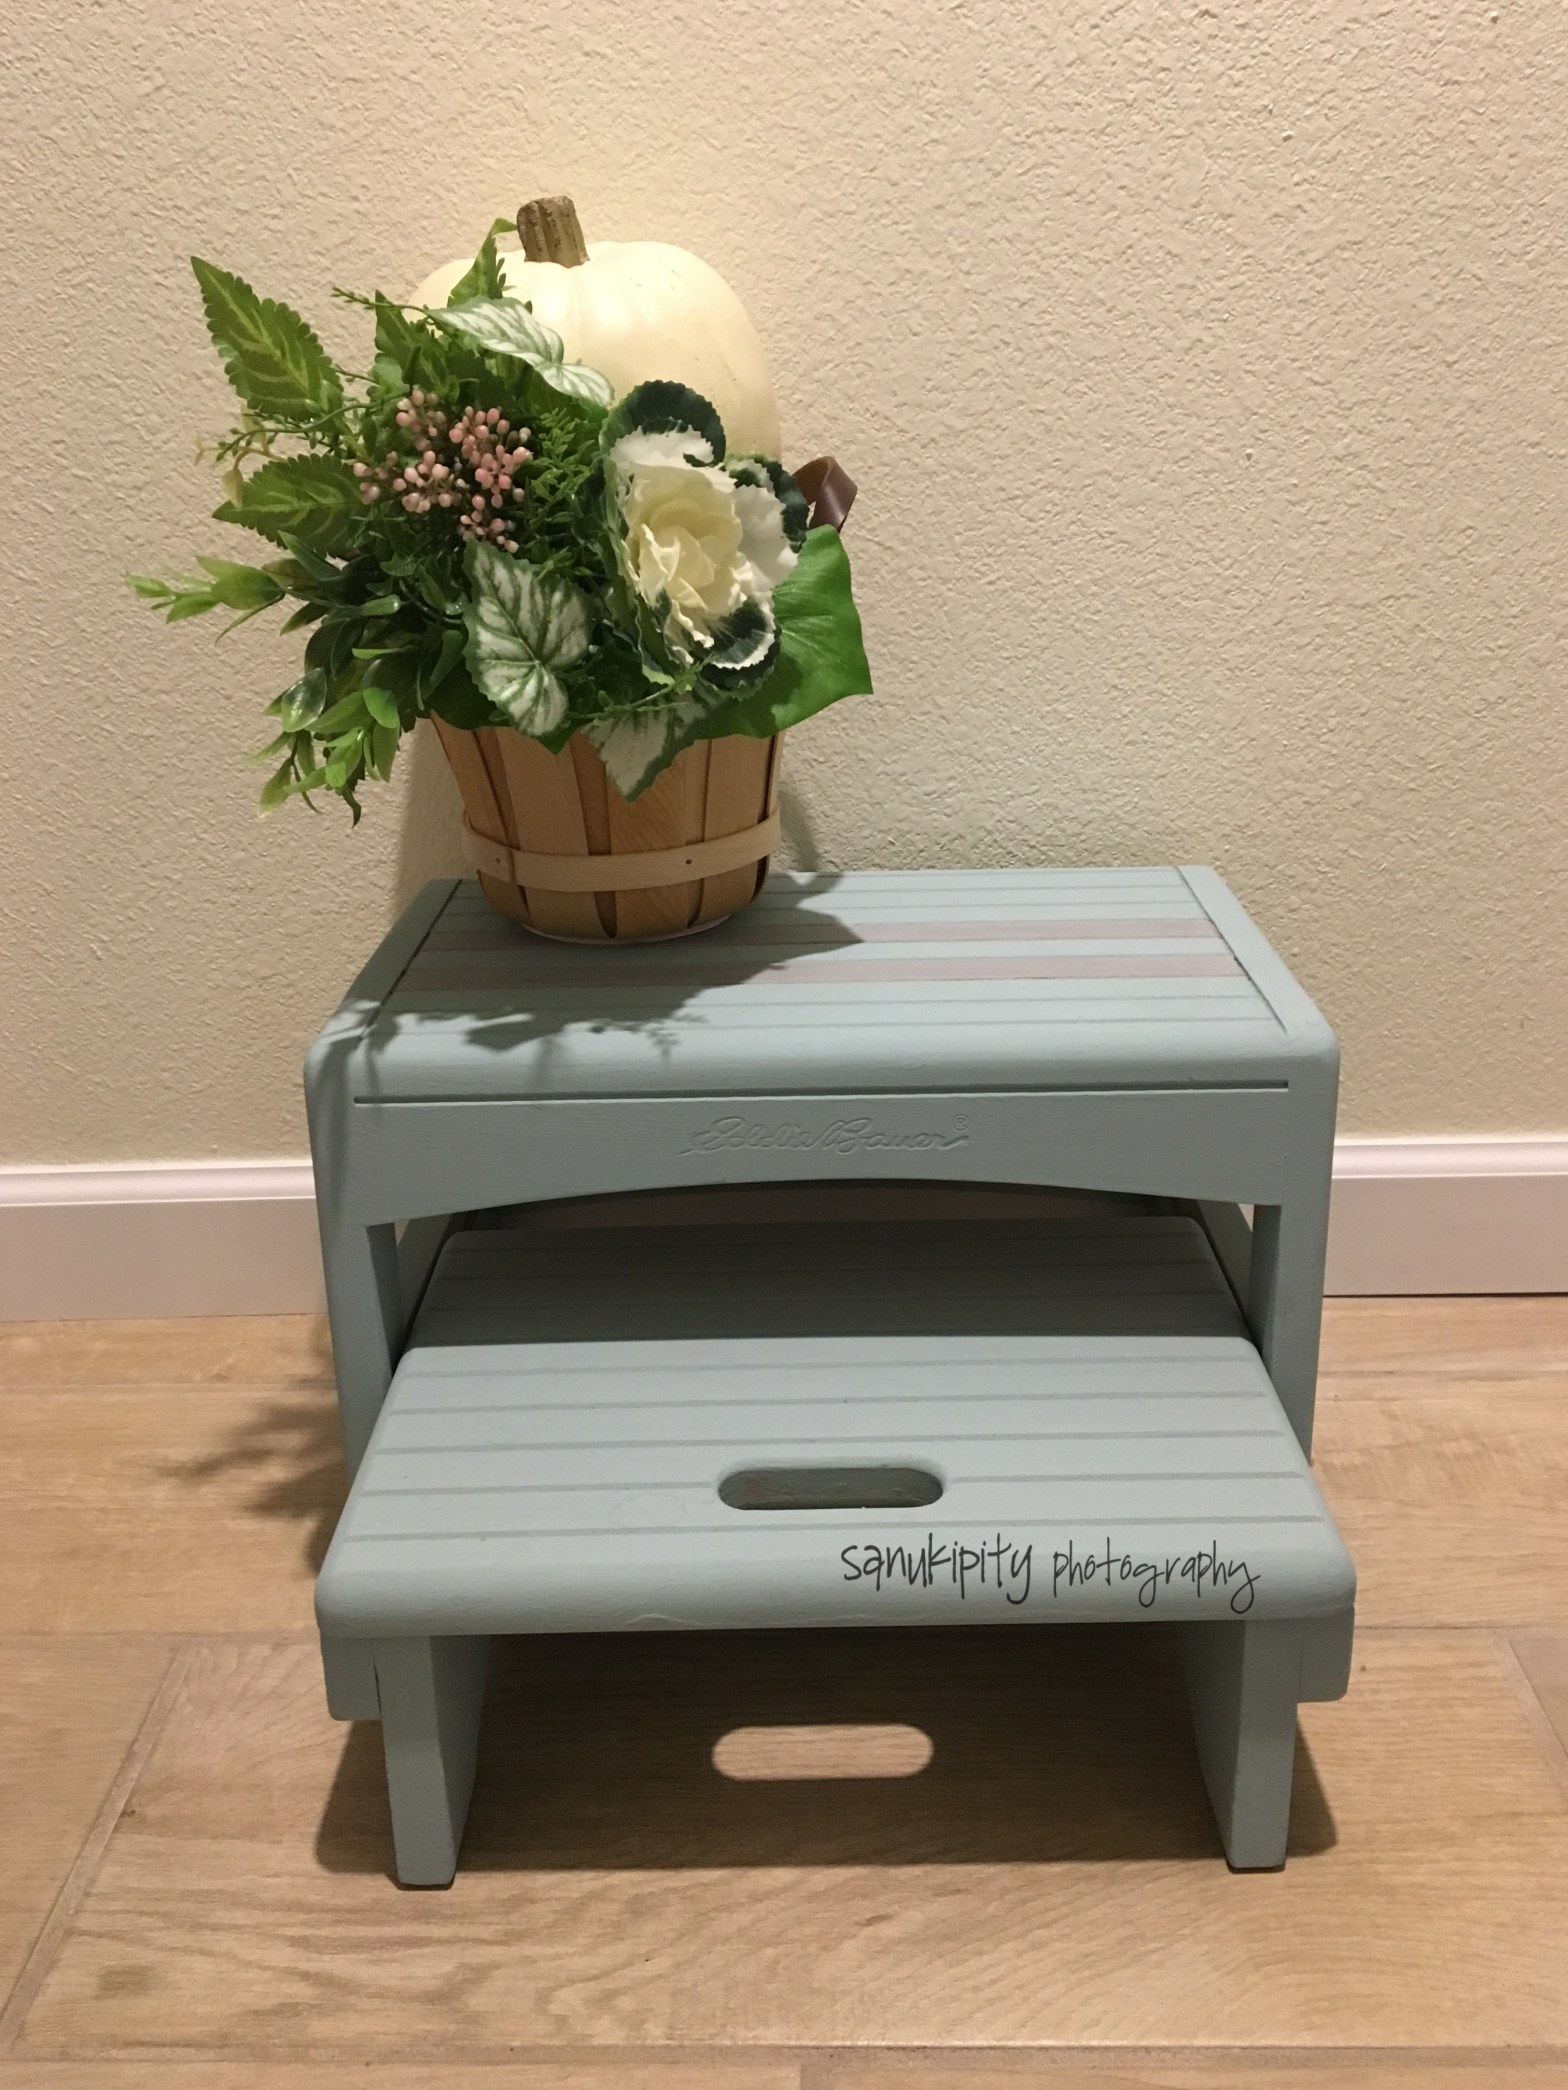
It never ceases to amaze me how wonderful a little paint can be. Such a cheap way to refresh a room, a piece of furniture, a thrift store find. About a year ago, I found this little wooden Eddie Bauer stool at a thrift store across town. One of my favorite places to go butContinue reading "Refreshing a Little Wood Stool"
