
I wish I could say this was a simple and easy project. It was, except that the lettering was really a lot of work. LOL.
There was a board out in my car port, left over from the previous owners. I had my dad cut it into 3 pieces, not necessarily equal, and I was going to attach them to look like a shutter. The other day, I had other plans. The main supplies for this project were

- One of the pieces of scrap wood
- Minwax’s Special Walnut (I was testing which color we wanted as a base coat to the new pantry, so I had a few colors around. This one is perfect; not too dark, not too light)
- Any light colored paint
- A dark paint for the lettering, but not black
- 2 foam brushes, a clean rag, a small angled brush
- Printer and plain white paper (Ink Jet is best and not even sure that mine is)
- Cute fonts like Heartland
- Sharpie or other rounded cap that size

I started off by giving the wood a good sanding. Wiped it down. Then I used a foam brush to wipe on the stain (I didn’t do the back side). I then wiped off the stain with the rag. Once this was dry, I used a “white washing” technique. I mixed 1 part paint (about a small spoon full) with 3 parts water. I did this in a 5oz dixie cup, so there wasn’t a lot of waste. I used a foam brush to wipe this on the board, in small sections and wiped it off with the rag as I went.

You can see, that the board had imperfections that took well to the stain and then the white washing. It looked gorgeous when I was done. After this, I spent a lot of time trying to get the letters perfect. I used 3 different fonts to get the look I wanted so I had to play around with the sizes a lot to get them perfect. I printed these each separately and then taped them to the board all together. Remember when printing them, to print them inverted (I finally had to go into Photoshop Elements to rotate the print). Once you have them taped to the board, start to work on one letter at a time with a small brush and water. Brush the water over the lettering until it starts to look darker. Then use the lid end of the sharpie to rub the lettering into the wood. **Maryann gives a great tutorial over at Domestically Speaking. Slowly pull the paper away, making sure you got all the letters. For me this wasn’t dark enough with the coloring of the wood, but worked as a good outline. I then used a small angled brush to paint over the letter transfers with the Plaid Metallic. I LOVE how it came out. Once this was dry, I sprayed the board with a poly, knowing it was going outside.
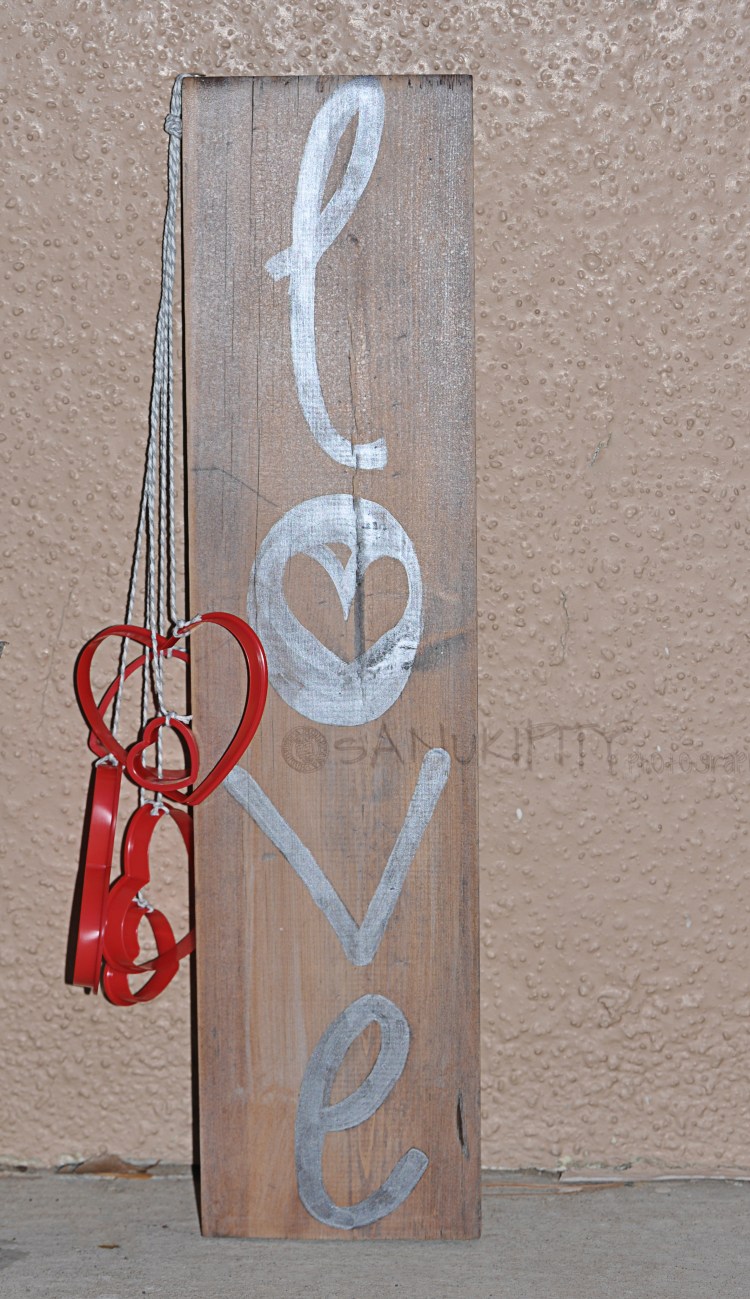
I had originally wanted small wood hearts to attach to the side but I came across these plastic cookie cutters at Walmart and decided they were perfect. I had thought I would be able to punch a small hole in them to run the thread through but the plastic was too hard. I just tied 1 small one and 1 big one to each end of a piece of bakers twine, tied all 3 pieces together and thumb tacked them to the top of the board. Isn’t she lovely?

What project have you done with reclaimed wood?
Sharing here today:
